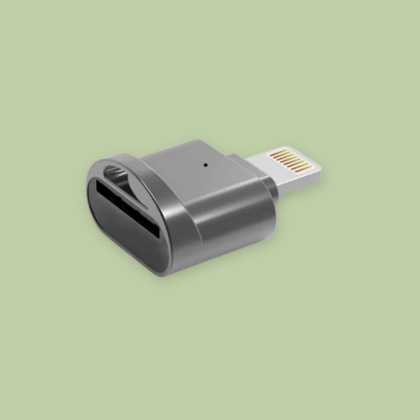
SD Card Reader (Lightning)
€9,95 EUR
If you're experiencing issues like missing photos or an empty gallery, formatting your SD card often solves the problem. Follow the steps below based on your operating system to get your DigiDispo camera ready to shoot again.
⚠️ NOTE: Formatting will permanently delete all photos on the SD card. This means, you first need to transfer all your photo's to keep access to them.
Connect your DigiDispo camera to your Mac using the included USB cable.
Turn the camera on.
Wait for the camera to appear on your desktop or in the Finder sidebar.
Go to: Applications > Utilities > Disk Utility.
Locate the 4GB drive that represents your DigiDispo.
Select the drive and click Erase.
Set the following:
Name: DigiDispo
Format: ExFAT
Complete the erase process twice to fully reset the SD card.
You're good to go! Your DigiDispo is ready for use.
Connect your DigiDispo camera to your Windows PC via USB.
Turn the camera on.
It will appear as a removable 4GB drive under This PC.
Open File Explorer and locate the DigiDispo drive.
Right-click the drive and choose Format...
Choose these settings:
File System: exFAT
Volume Label: DigiDispo
Allocation Unit Size: Default
(Optional) Uncheck “Quick Format” for a full format.
Click Start and confirm.
All set! Your DigiDispo is now ready to use.